2017年4月9日 星期日

Assignment 1: The Blister

This part of the assignment is to create an aluminium skin to adhere to the contours of Blister.

1. Use the jigsaw power tool to cut the middle part of the CNC template out and then use the router power tool to sand the excess bits off - the bits that connecting the middle part and the outer part of the template.

2. Take another template with the same tear drop shape, repeat step 1 to it and then use screws to screw two templates together.

3. There are different ways to approach to the shaping process, I chose the method of putting the aluminium sheet on the mould, using clamps to lock them together tight and then start hammering it.
(This method is learnt from the YouTube video posted on Russell's Blog: http://beil0014-2017.blogspot.com.au/)

4. To get a fast start, I use an egg-shaped mallet and hit on the side of the mould hardly
(Reminder: Be careful of the occurrence of tucks as they may cause the aluminium to crack, flatten them out immediately!)

5. Next step, I used an indirectly way to hit the aluminium by putting an egg-shaped mallet on the sheet and hit the mallet with another mallet. By doing that it allows me to hit a larger surface area and gets a smoother surface. Keep hammering it until the sheet has get to the desired depth.

(Reminder: Since aluminium has a relatively low limit to stretch than other material, such as steel. You have to be careful, not to get it too deep and caused the aluminium to tear.)

6. After finishing the general shaping of the tear drop, I used a pointy wooden block as my croking tool to tune up the edge.

7. After I have finished tuning up the edge, I use a marker to mark a cut line so it ends up with a nice and even flange.

8. Follow the marked line, use the snip to cut the excess parts off.

9. Use another snip to cut off/ fix the uneven bits from the previous cut.

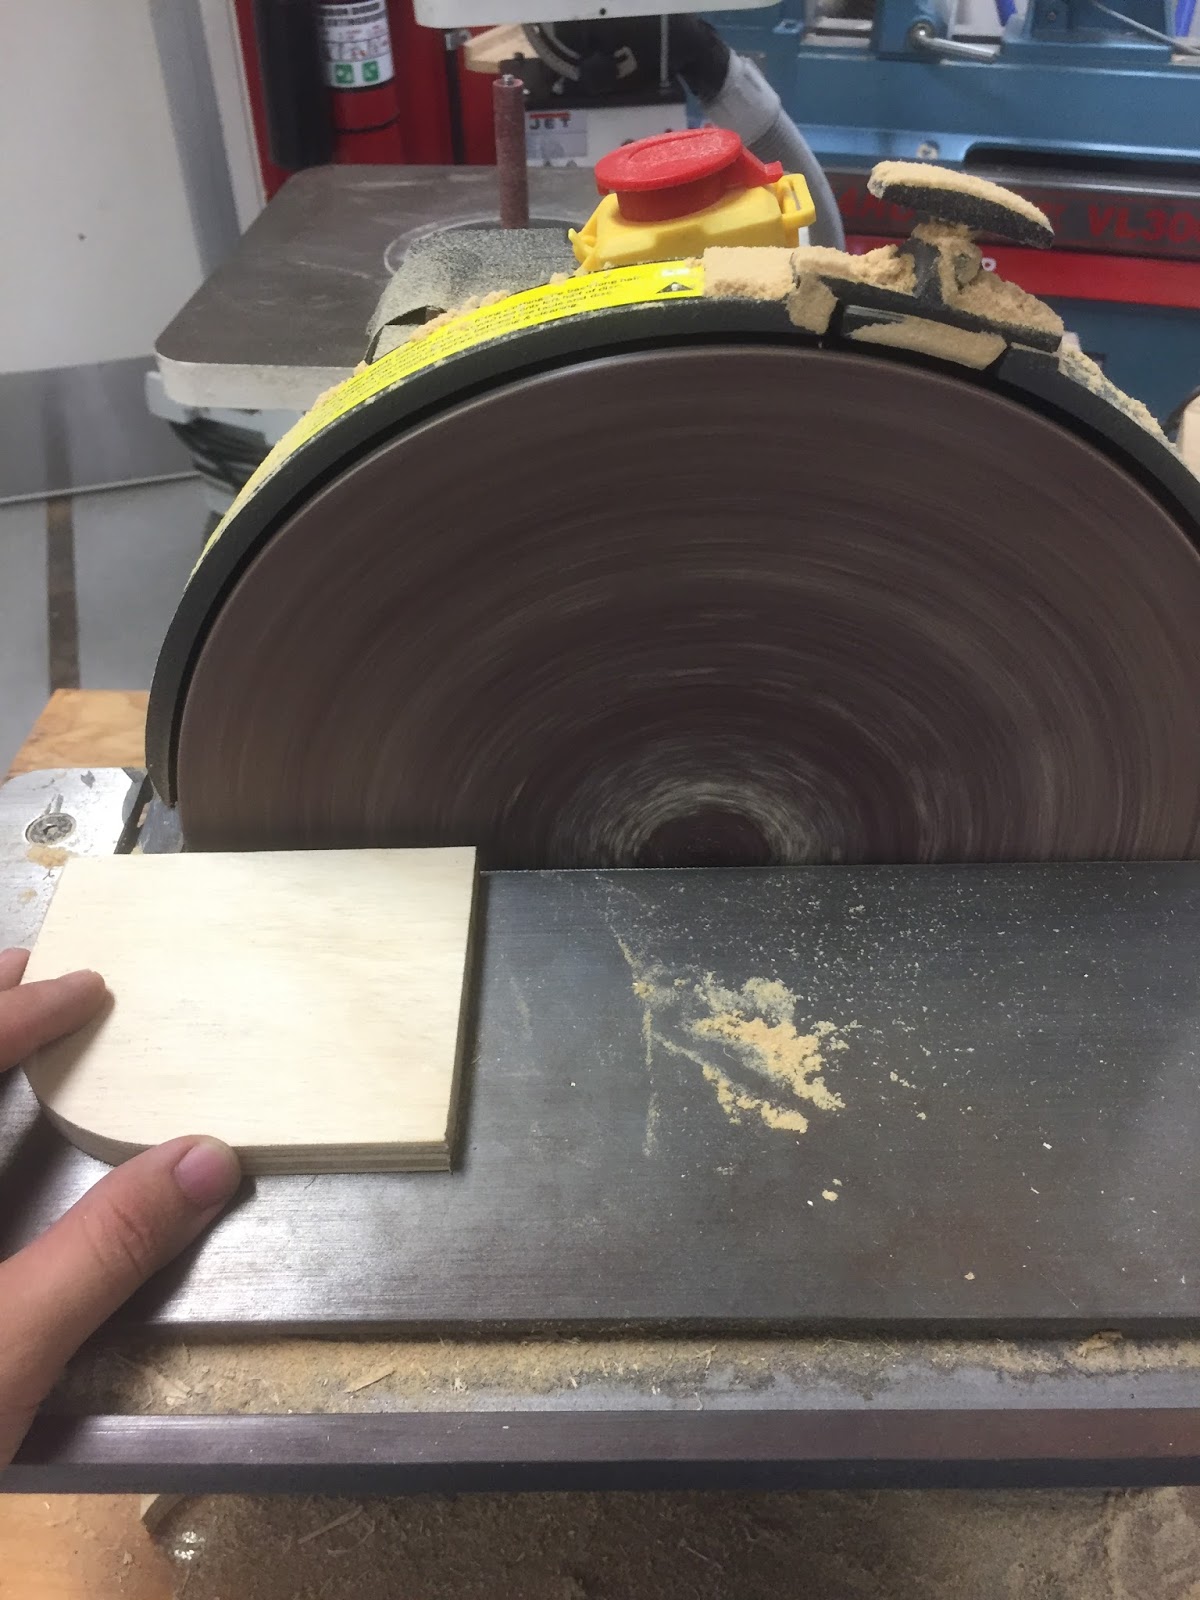
10. Use sand paper to smoothen out the edge and clean the mark with WD40. Done!


11. Compare with my partner's blister.


Assignment 1: The Tray

This part of the assignment is to create an aluminium skin to adhere to the contours of 2 trays in a group of 2.

1. Set out the size of the cut-out going to be (200mm x 200mm), cut the square out with a snipe, sand the sharp edges off from the cut-out piece.

2. Start to mark out a 10mm gap from the edge of the aluminium.

3. Find a piece of round objects/ custom made a wooden mould with a round corner that can help shaping the tray.

4. Use the sanding machine to sand off the uneven edges.

5. Stack the piece of aluminium and the mould together and clamp them tight. Find a nylon hammer or a wooden hammer and start hammering/ shaping the metal!

6. Since the depth of the tray is set to be 10mm deep, I start checking the tray inch by inch to see whether it meets the required depth. Once I realise there are edges that are too deep, I will use the snip to trim it off.

7. Unfortunately, my tray and my partner's tray do not sit on the top to each other so I will have to fix it.

8. We decided to make a new one. This time the dimensions are set to be 110mm x 200mm. The Same process of making the last tray is repeated to these two trays. 


9. The result of this time is satisfying. Done!


Assignment 1: The Torus

This part of the assignment is to create an aluminium skin to adhere to the contours of a torus. 

1. This time we are sharing a big piece of aluminium in a group of 3. Firstly, we measure the dimensions of aluminium and divide them into 3 equivalent parts by drawing marks on it. Cut the big piece of aluminium into three with the cutting machine.

2. Next, Prepare the egg shaped nylon hammer and the mould shown in the picture, and start shaping the metal.

(Reminder: There are other options to shape a torus from a piece of aluminium, such as using the English wheel or the stretching machine. However, this time I chose to use the mould for the shaping process.)

3. Bend the flat piece of aluminium into a cylindrical shape, that makes the following shaping process become more convenient.Then use clamps to lock down the metal, prevent it from sliding around.

4. Once everything is set, we can start using the pointy end of the egg-shaped nylon hammer to hammer the piece of aluminium. Continue hammering along the aluminium on the mould with the hammer.

(Reminder: Please be careful of any tucks to occur that may cause the metal to crack, In order to fix it, use the round end of the nylon hammer to flatten them out.)

5. Once, you are satisfied with the shape of the curve, you can turn the torus upside down, place it on a leather bag, and start using the hammer to hit on both side of the torus, in order to create a greater depth/ curve.

(Reminder: the pointy end of the hammer and the round end of the hammer needs to switch constantly during the hammering process. It is to create a smoother surface.

6. After that, I went back to check the depth of the curve and I was not satisfied with it. I took a metal pole as my new mould and repeat processes of 4 and 5 until the depth of curve is good.

7. To finish up the shaping process, I used 80 grid and then 600 grid sand papers to smoothen out the surface, clear out all the hammering marks.

8. Inspect the edge of the torus is even or not, marking the excessing bits with a marker and then trim them off with a snip.

9. Use sand paper to smoothen the surface. Done!